Set Up Your Bluehost Hosting
Follow this guide to sign up for Bluehost Shared hosting and add MHG Strategy as an admin. You own your account — we never need your password.
Start with Bluehost$1.99/mo is on the 36-month plan (about $72 up front) and includes a 30-day money-back guarantee.
We recommend Bluehost; we may earn a commission if you sign up.
What comes with your Bluehost account
MHG builds your custom site directly on your hosting — no WordPress, no page builders, no templates. You own everything.
- ✓Free domain for the first year — your address on the web
- ✓Free SSL certificate — secure, trusted connection for visitors
- ✓Unmetered bandwidth — no traffic limits as your site grows
- ✓Reliable hosting infrastructure — MHG builds directly on your account
- ✓24/7 Bluehost support for hosting issues
Before you start
- ✓Have a credit or debit card, Google Pay, or PayPal ready
- ✓Think of a few domain name ideas (.com preferred)
- ✓Know where most of your website visitors will be located (for data center selection)
- ✓Set aside about 15 minutes to complete both sections
Create Your Account
Follow these steps to purchase Shared hosting through our affiliate link. You own the account.
Step-by-step screenshots: Bluehost signup help article
Visit Bluehost
Click the button below to open Bluehost. You'll land on a page showing the $1.99/mo plan — click Get Started to begin.
BLUEHOST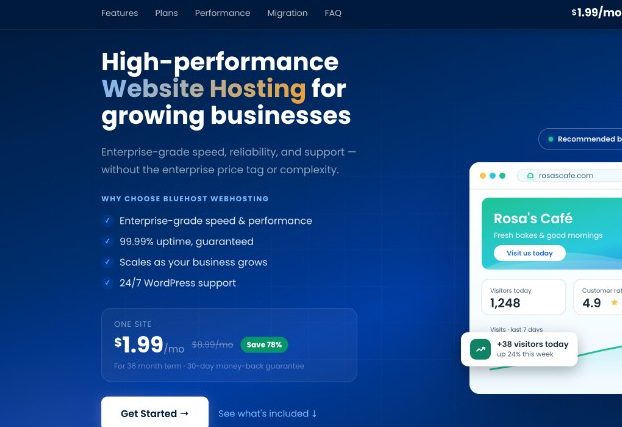
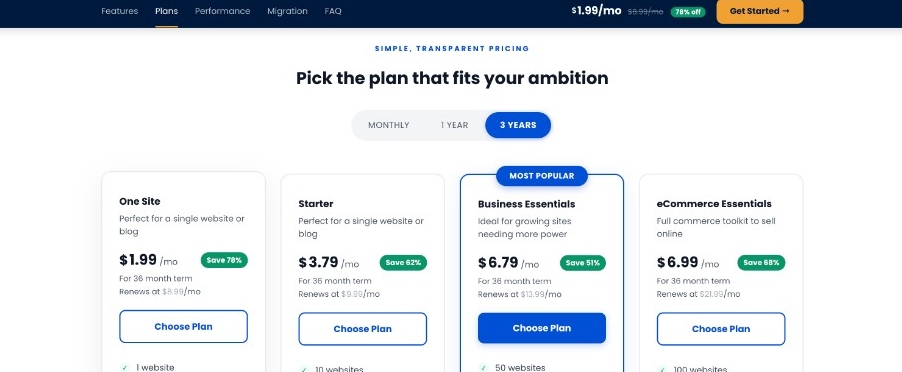
Choose your Shared hosting plan
Choose the basic plan — it's all a one-page business site needs. (Pick Business only if you plan to host multiple sites later.)
Register or use an existing domain
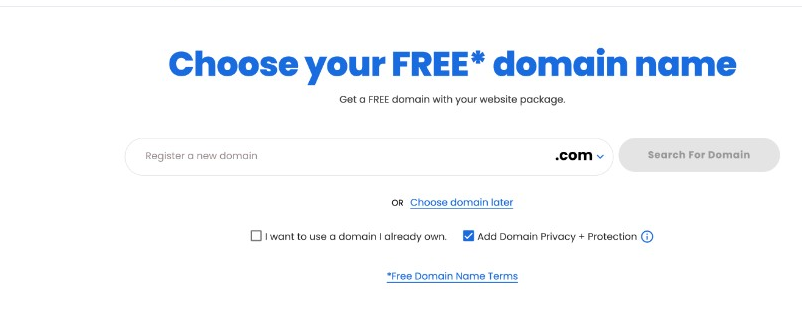
Choose a domain name for your website. You can register a new domain, use one you already own, or select your domain later. Shared hosting includes a free domain for the first year. Domain Privacy + Protection is optional.
- •Prefer a .com if available — it tends to rank better in search results.
Create your Bluehost account
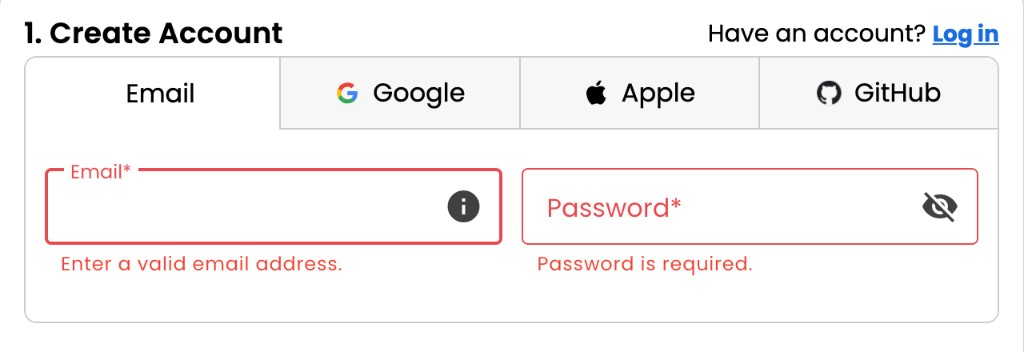
Create your account with an email address and a secure password. You can also sign up with Google, Apple, or GitHub if you prefer. Save your login details — you will need them to access your portal.
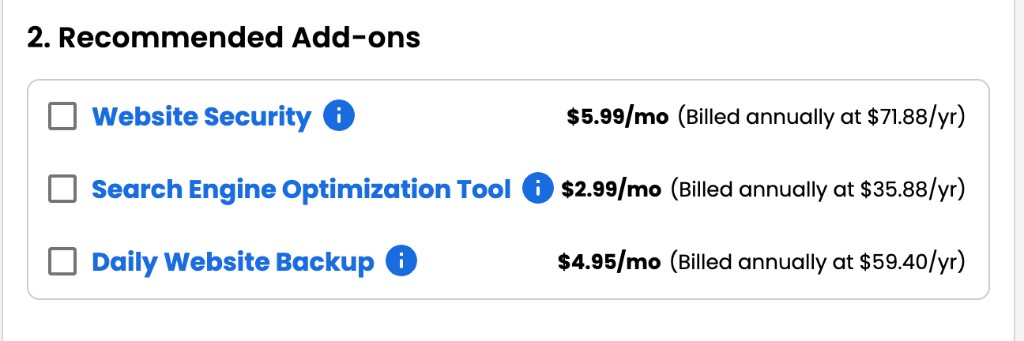
Review recommended add-ons
Bluehost may suggest optional add-ons such as CodeGuard (backups), eCommerce tools, or Yoast (SEO). These are not required for a standard business site — skip or uncheck any you do not need.
- •CodeGuard: Daily backups for your site data
- •eCommerce: Tools to set up and manage an online store
- •Yoast: SEO plugin to help improve search visibility
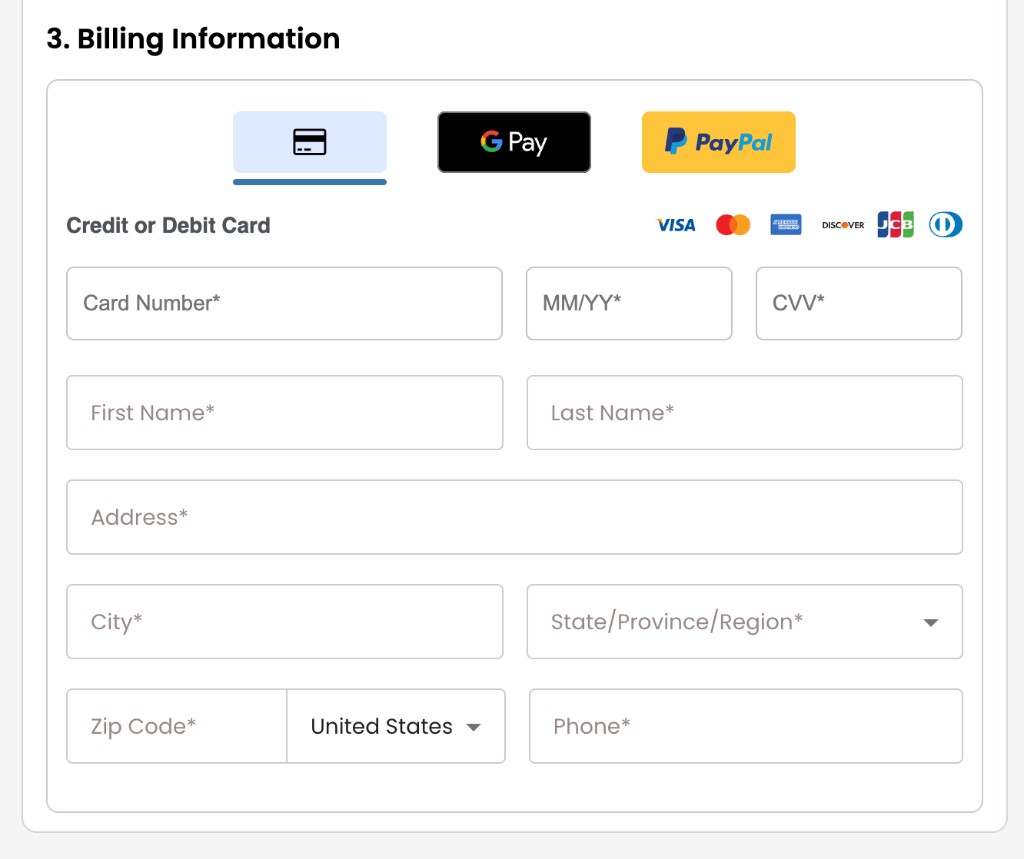
Enter your billing information
In the Billing Information section, enter your payment details and choose your preferred method: credit card, debit card, Google Pay, or PayPal.
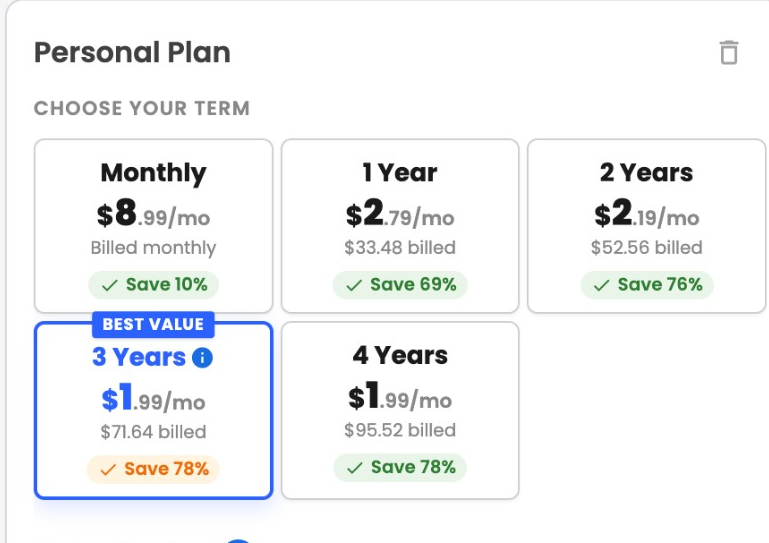
Select your billing term
Choose your billing term from the dropdown. Bluehost offers flexible term lengths — a longer term often provides better savings.
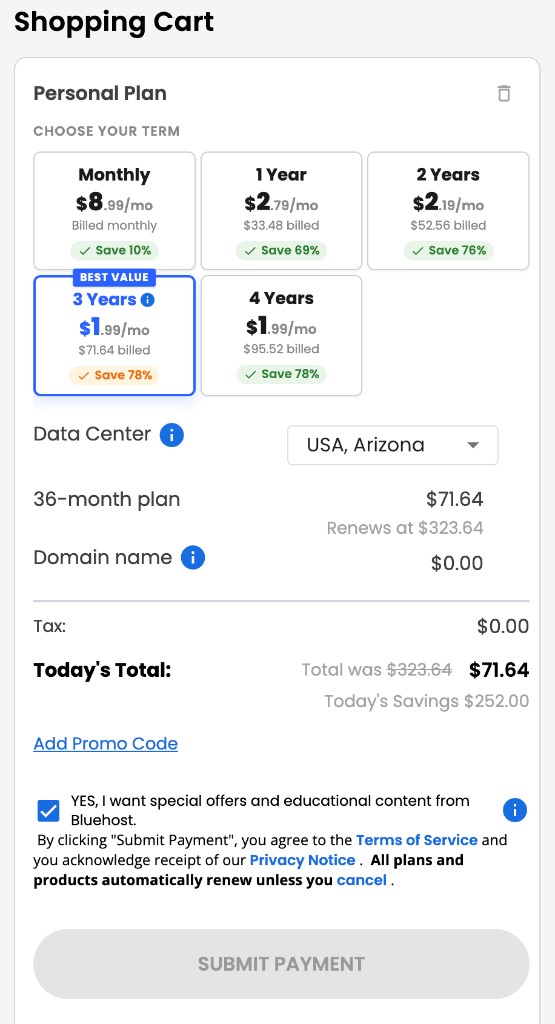
Choose your data center location
Select the data center closest to your primary audience. This improves load times for your visitors. For most U.S. businesses, USA Virginia or USA Arizona is a good choice.
- •Other locations include UK (London), Canada (Toronto), Germany (Frankfurt), and Australia (Sydney).

Review your cart and submit payment
Review everything in your Shopping Cart — hosting plan, domain, data center, add-ons, and billing term. When it looks correct, click Submit Payment to complete your purchase.
Access your Bluehost Portal
After payment, you will receive an order confirmation email from Bluehost. Log in to the Bluehost Portal to manage your account — then continue to the next section to add MHG Strategy as an admin.
Log in to Bluehost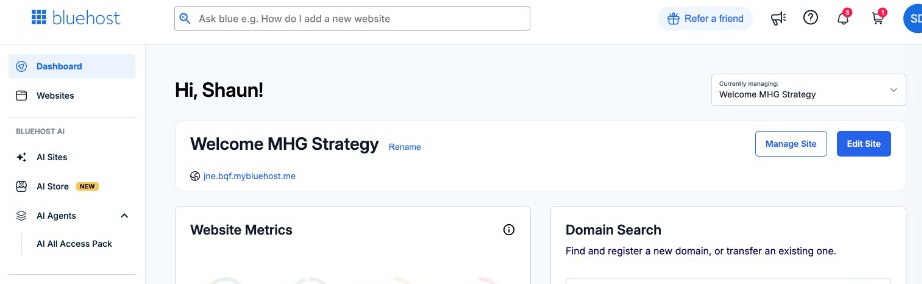
When adding an admin user, use this email:
shaun@mhgstrategy.com
Add MHG Strategy as Admin
Grant us admin access so we can build your site — no password sharing required.
Steps 2–5 must be done by the account owner (the person who purchased hosting). Visual reference: Bluehost Users & Roles help article
Log in to the Bluehost Portal
Go to the Bluehost login page and sign in with the email and password you created during signup. You must be the account owner — invited users cannot add other admins.
Log in to Bluehost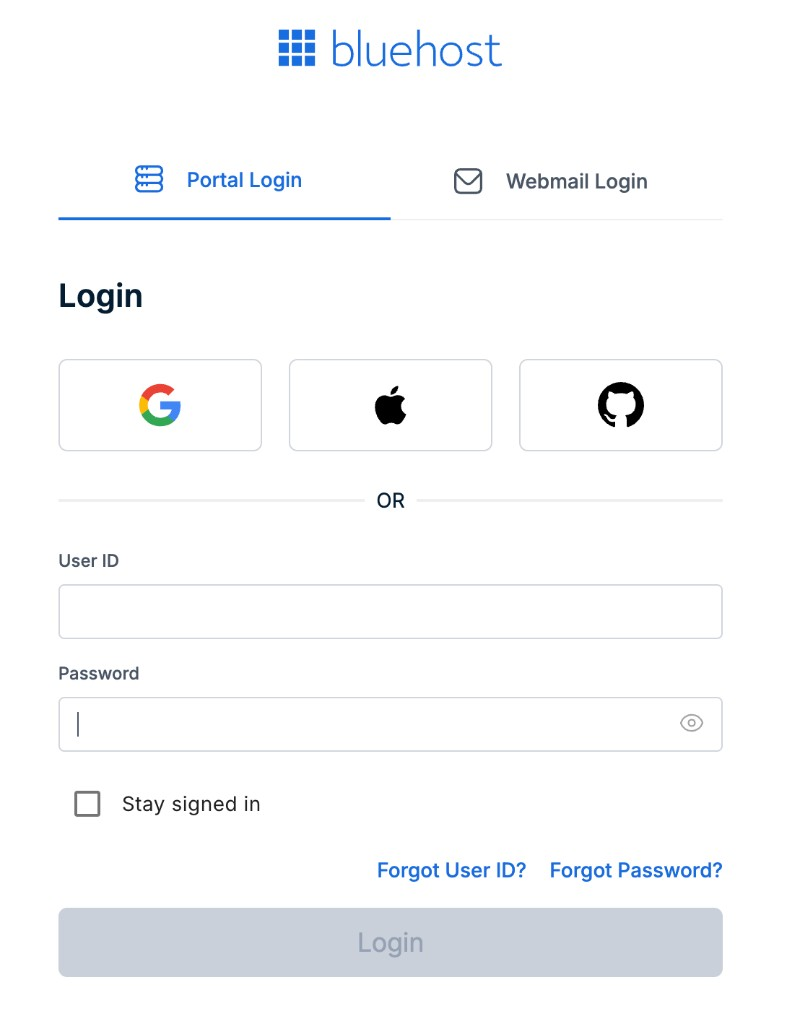
Open Users & Roles
From the portal, click your profile icon in the top-right corner (your initials), then select Users & Roles or Accounts & Users from the menu. If you do not see this option, confirm you are logged in as the account owner — not as an invited admin.
Bluehost Users & Roles helpManage your account
On the Users & Roles page, find your hosting account in the list and click Manage next to it.
Add a new user
Scroll to the User Roles & Permissions section and click + Add User.
Invite MHG Strategy as Admin
Enter the following details, then click Invite: • Name: Shaun / MHG Strategy • Email: shaun@mhgstrategy.com • Role: Admin
- •Shaun will receive an email to set up his own login — you never need to share your password.
- •If anything in the menu looks different, use the Bluehost help link in Step 2 — the flow is the same even if labels vary slightly.
You're all set
Shaun will receive an email invitation to accept admin access. Once accepted, we can start building your site. You will also receive an order confirmation email from Bluehost with your account details.